Part 1: Seed Starting and Plans for My First Perennial Garden (Using What I Learned as a Designer)
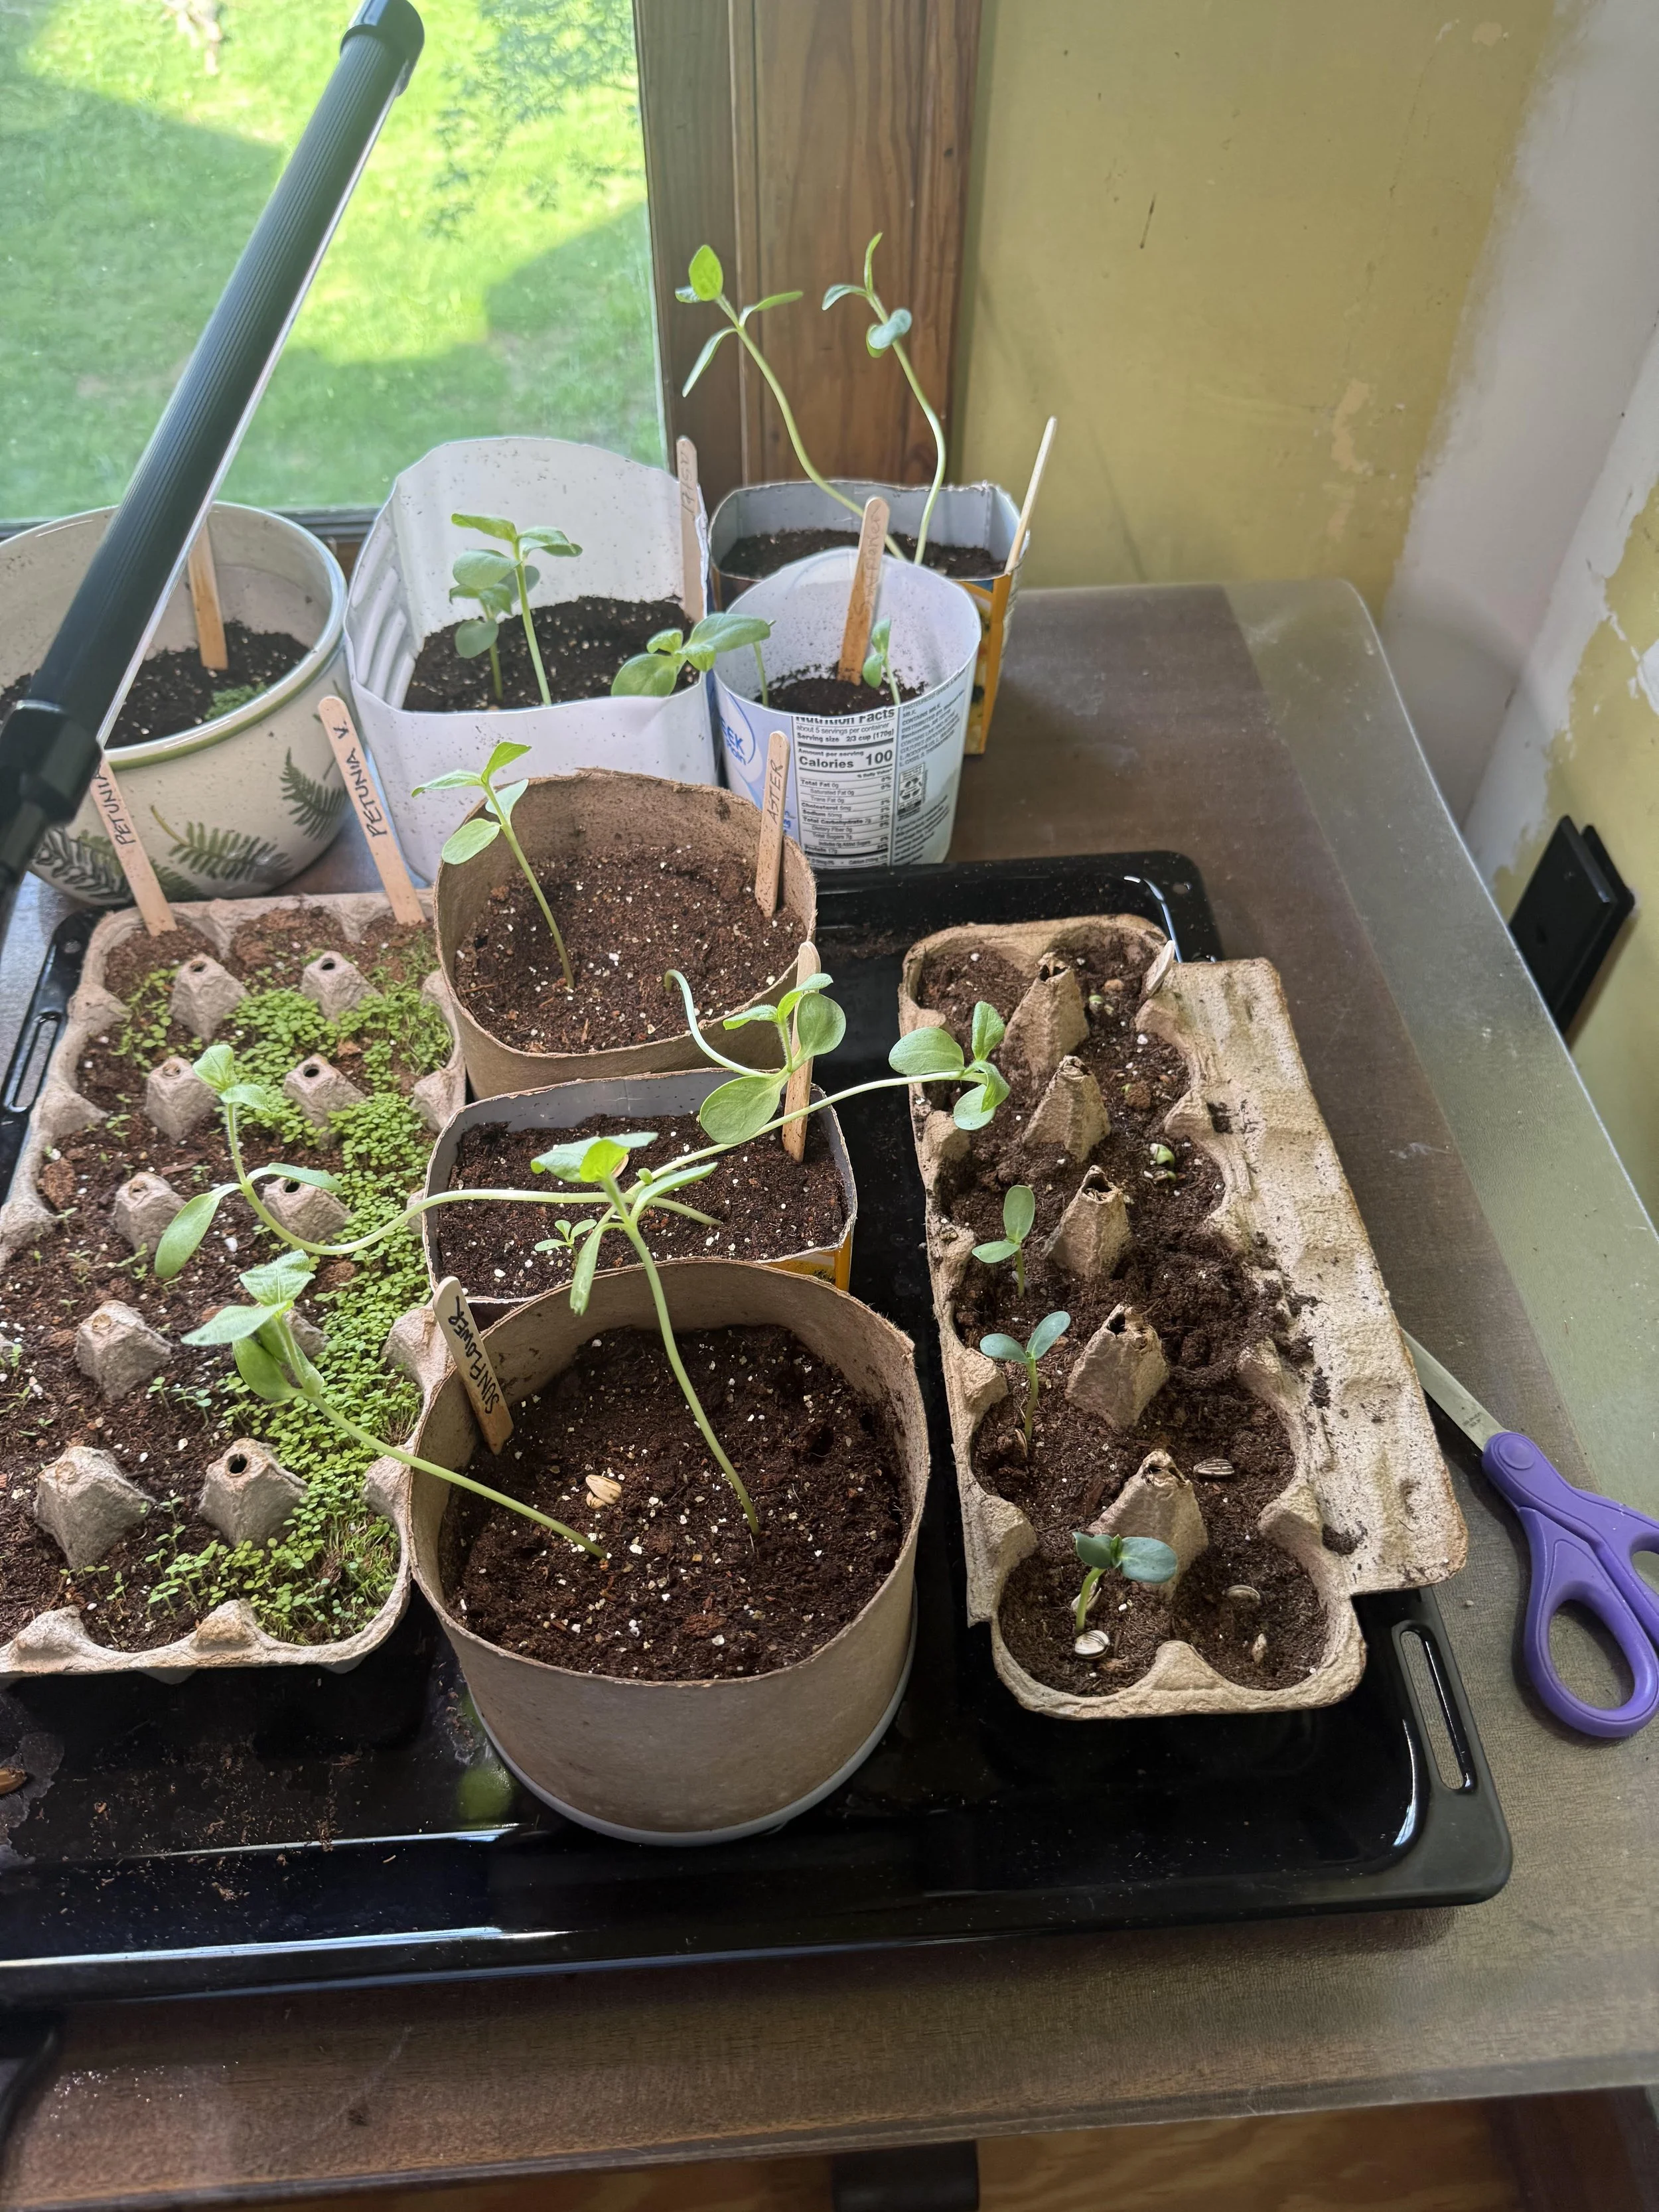
New seedlings sprouting in my makeshift greenhouse. Hello babies!
I’m planting my first Michigan perennial garden and I am stoked about it. Believe it or not, I spent my university years in landscape architecture and urban planning. Then began my professional career as a designer at a planning and architecture firm where I specialized in land planning, campus development, and international resort design. So today, I thought I’d share Part 1 of my newest endeavor, planning and planting a hopeful, bright, perennial garden at our historic Michigan home.
Why Perennial Garden? Why Now?
There is so much chaos in our world right now, we all know this. In my family life we’re also in a season of transition, which has sparked my interest in prioritizing the ways my family and I can enrich our time together and enhance our personal spaces. I’m talking about the places we spend most of our time when we’re home. Last summer we painted the front porch together, this winter we tackled the staging of our home for a full blown Christmas tour. This spring and summer, I want to see how much bright, beautiful color I can surround our home with. I am intrigued that happy perennial plants can and should return year over year—provided the deer and other critters don’t get to them. I’m eager to learn which plantings will work, which will most improve the areas we spend most of our time during warm weather season. I also love the idea of starting plants from seed and practicing the discipline of planting and gardening with the kids. Something more to do outside, something to teach returning seasonality and responsibility, and to enjoy together.
It Starts With A Plan…for a Zone 6A
Great gardens start with thoughtful planning. Rather than throwing stuff at the soil and seeing what sticks, I wanted to really understand the sun and soil surrounding our home and study our planting zone to optimize the garden design for each area I’m developing. This is especially true for areas that face extreme cold for most or many months of the year. Whatever we plant needs to be hardy enough to thrive in off season and tolerate limited sun even in our warmer months.
Our property is in planting zone 6A, where the average annual extreme minimum temperatures are between -10 and -5°F (-23 to -20.5°C). You can find the planting zone for your area here. Other states in zone 6A are the eastern parts of Pennsylvania, New Jersey, Kentucky, western parts of Virginia, Tennessee, southern parts of Missouri, and western parts of Oregon. This webpage is a great reference for top plants to source for zone 6A. We have a treeline and forested area along the northern perimeter of our yard so we get lots of deer and animals that have, historically, eaten whatever I planted. For this reason I’m not planning on including many vegetables or fruit in our garden plans, as those would be devoured in an instant. Hoping my bulbs and seedlings will be less tempting for those critters, we shall see!
Our first home in Atlanta was a historic bungalow in the city, and it was a blast to design around a tiny home on a long skinny lot. I incorporated so many southern plants, some tropical plants, a xeriscaped grass basin and French drain…even a 20’ sloped garden that cascaded down the front of our yard and into a city sidewalk retaining wall.
Our second home, about 7 years later, was in Michigan. It was an Italianate historic home that sat on *the* smallest lot. We have very little room for gardening and with two babies under two I spent the years at that home focusing on restoration and structure. Paving, pouring concrete, and stabilizing the tiny bit of usable space we had outside of that home.
All that to say, we’re now in our third historic home, most major renovation completed, and I am excited to bring some color to our world.
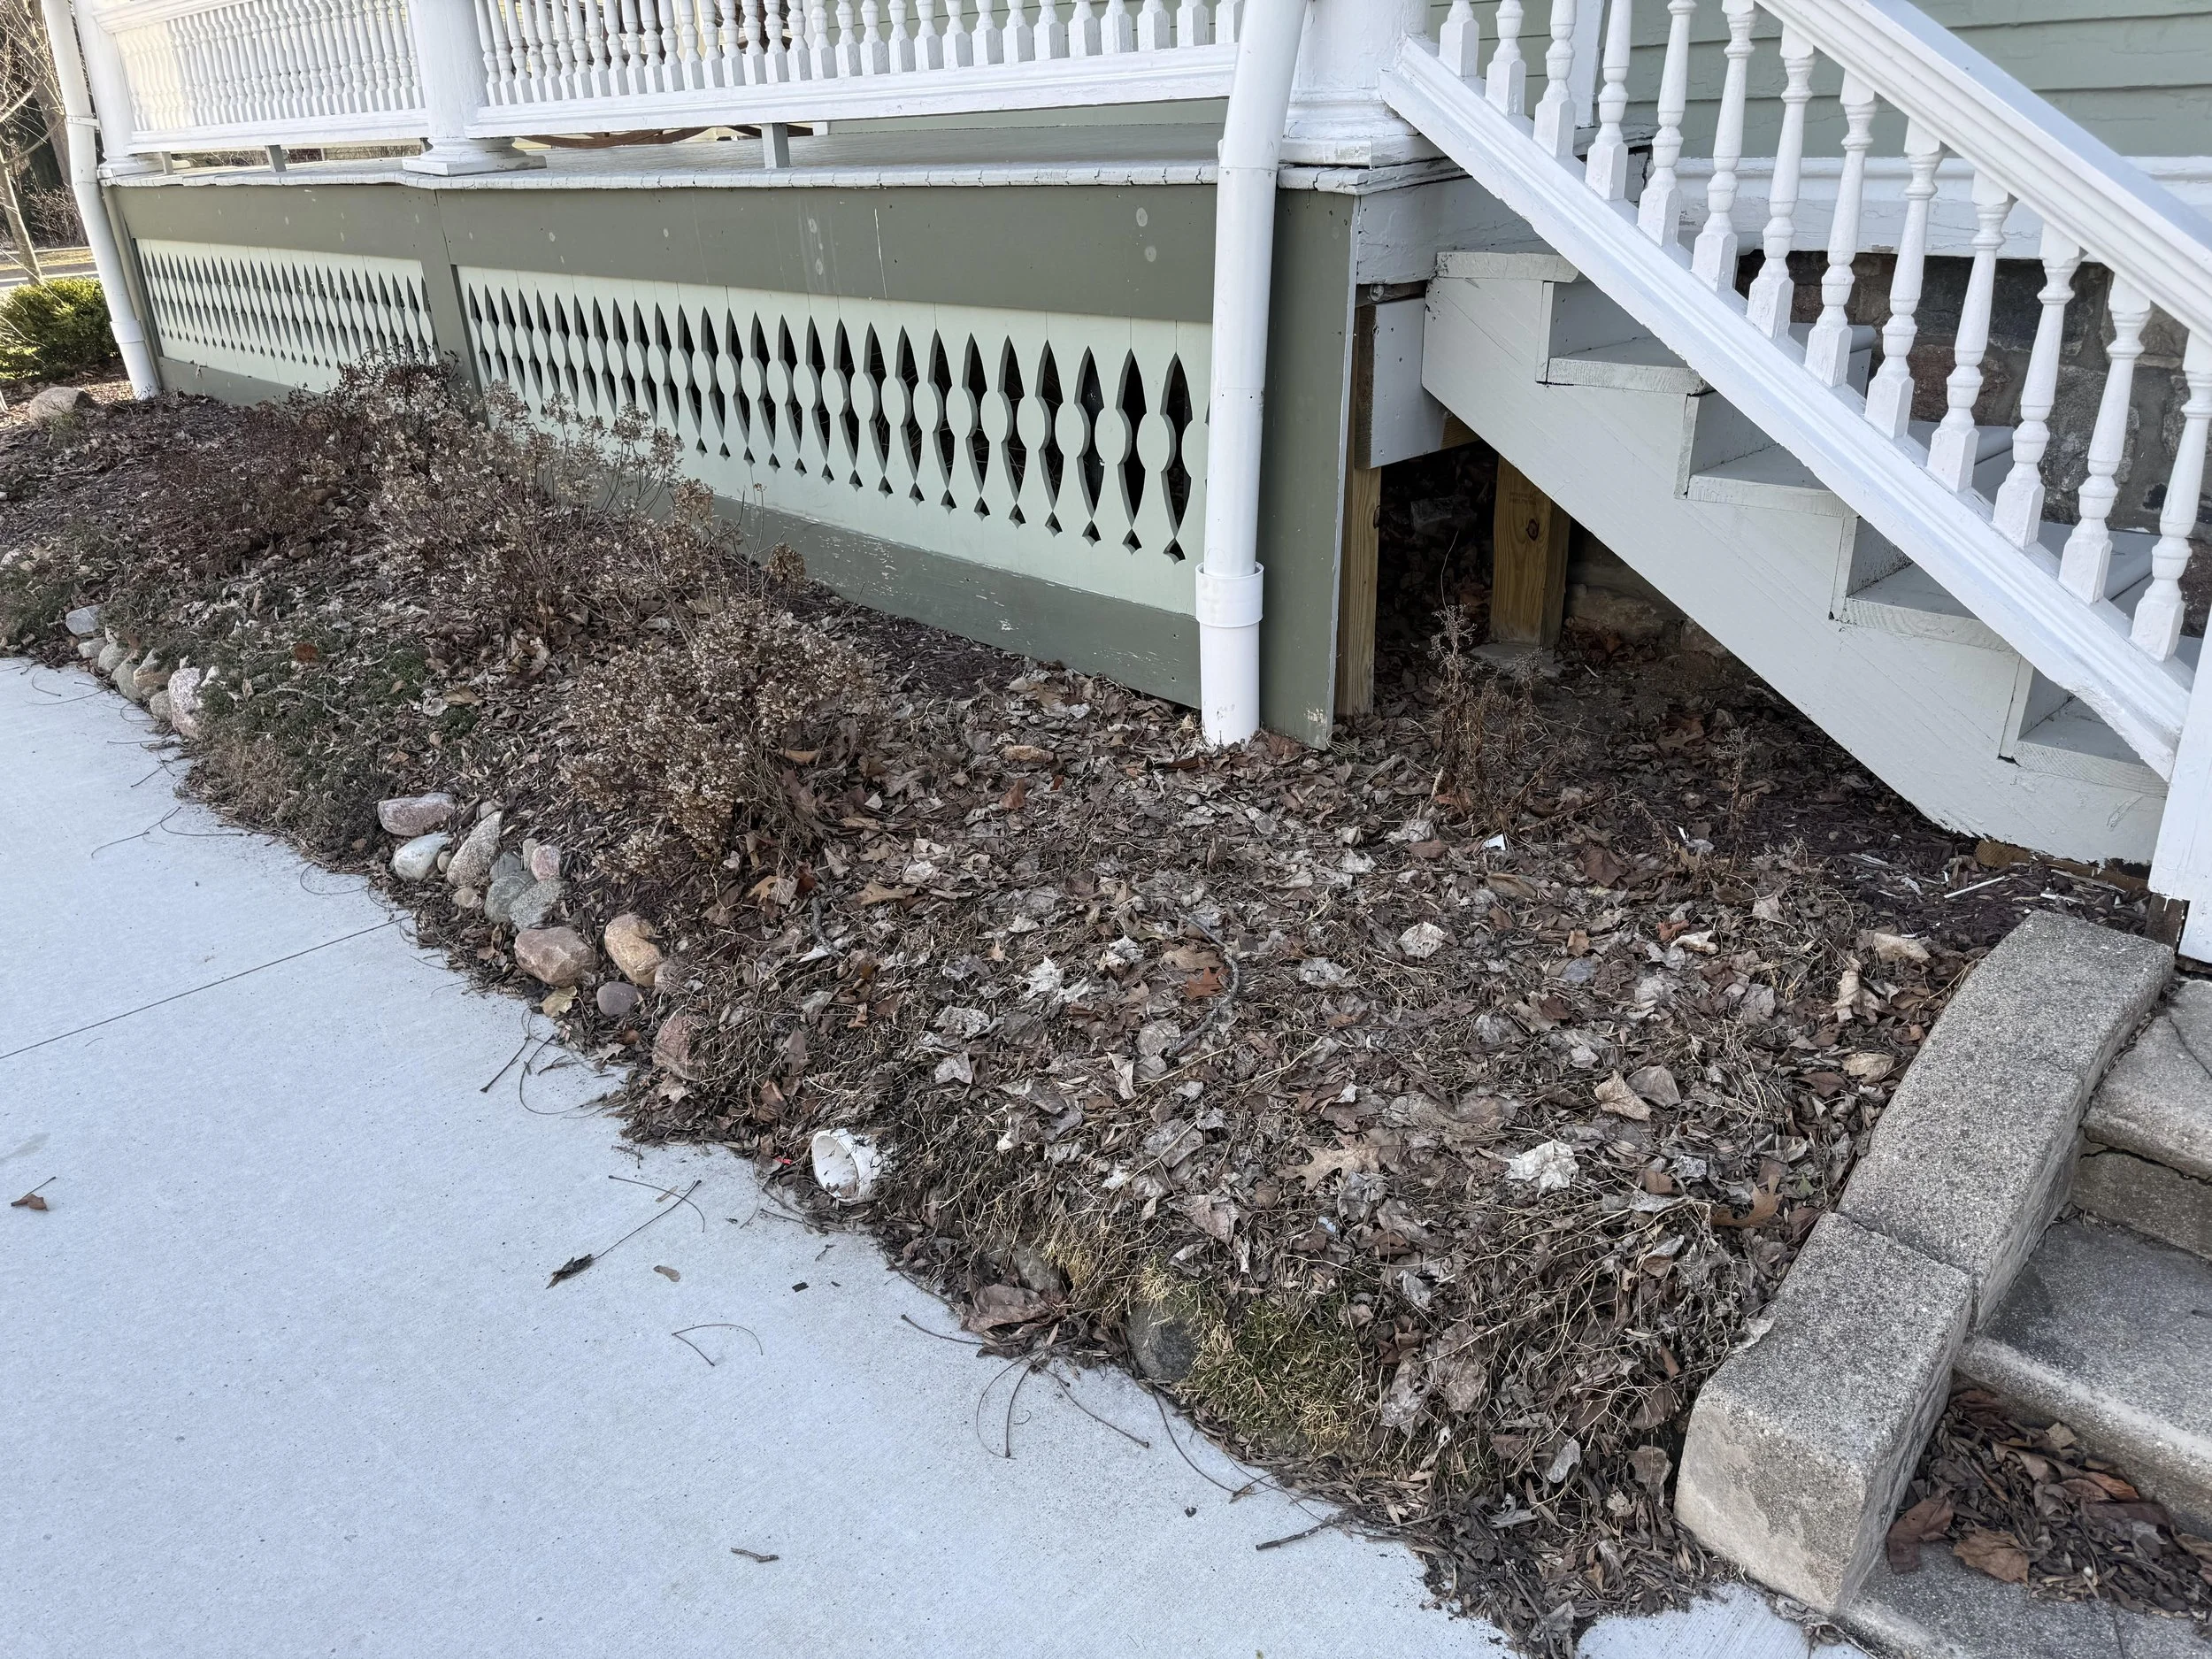
Sad garden bed needs a little color…and some TLC
What Are Your Soil Conditions?
Our soil is a pretty balanced loam, well drained, but our property is covered in black walnut trees. This means there’s a compound called juglone in our soil from the black walnut roots. Juglone can be so toxic to anything growing underneath that it will kill plants over time or prevent seeds from even starting to grow. In fact, a few years ago we spent big bucks on a beautiful Japanese maple, had it professionally installed, and it died with a couple of years due to the toxicity of the juglone in the soil. This year, I selected perennials to plant from seed that will thrive despite the juglone and under a canopy of black walnut trees. I researched species that are specifically hardy to juglone, and substantiated that research with Reddit threads of other gardeners’ success growing those species, despite the presence of juglone.
What About Your Sun Exposure?
The sun exposure around our home is as you’d expect with brightest areas being the South and West, however, we live in a taller historic home surrounded by other tall historic homes. My biggest concern, other than the juglone in the soil, are the areas of extended shade and shadow cast by these homes. For this reason I researched perennials that may thrive in full sun but fare well in most or partial sun.
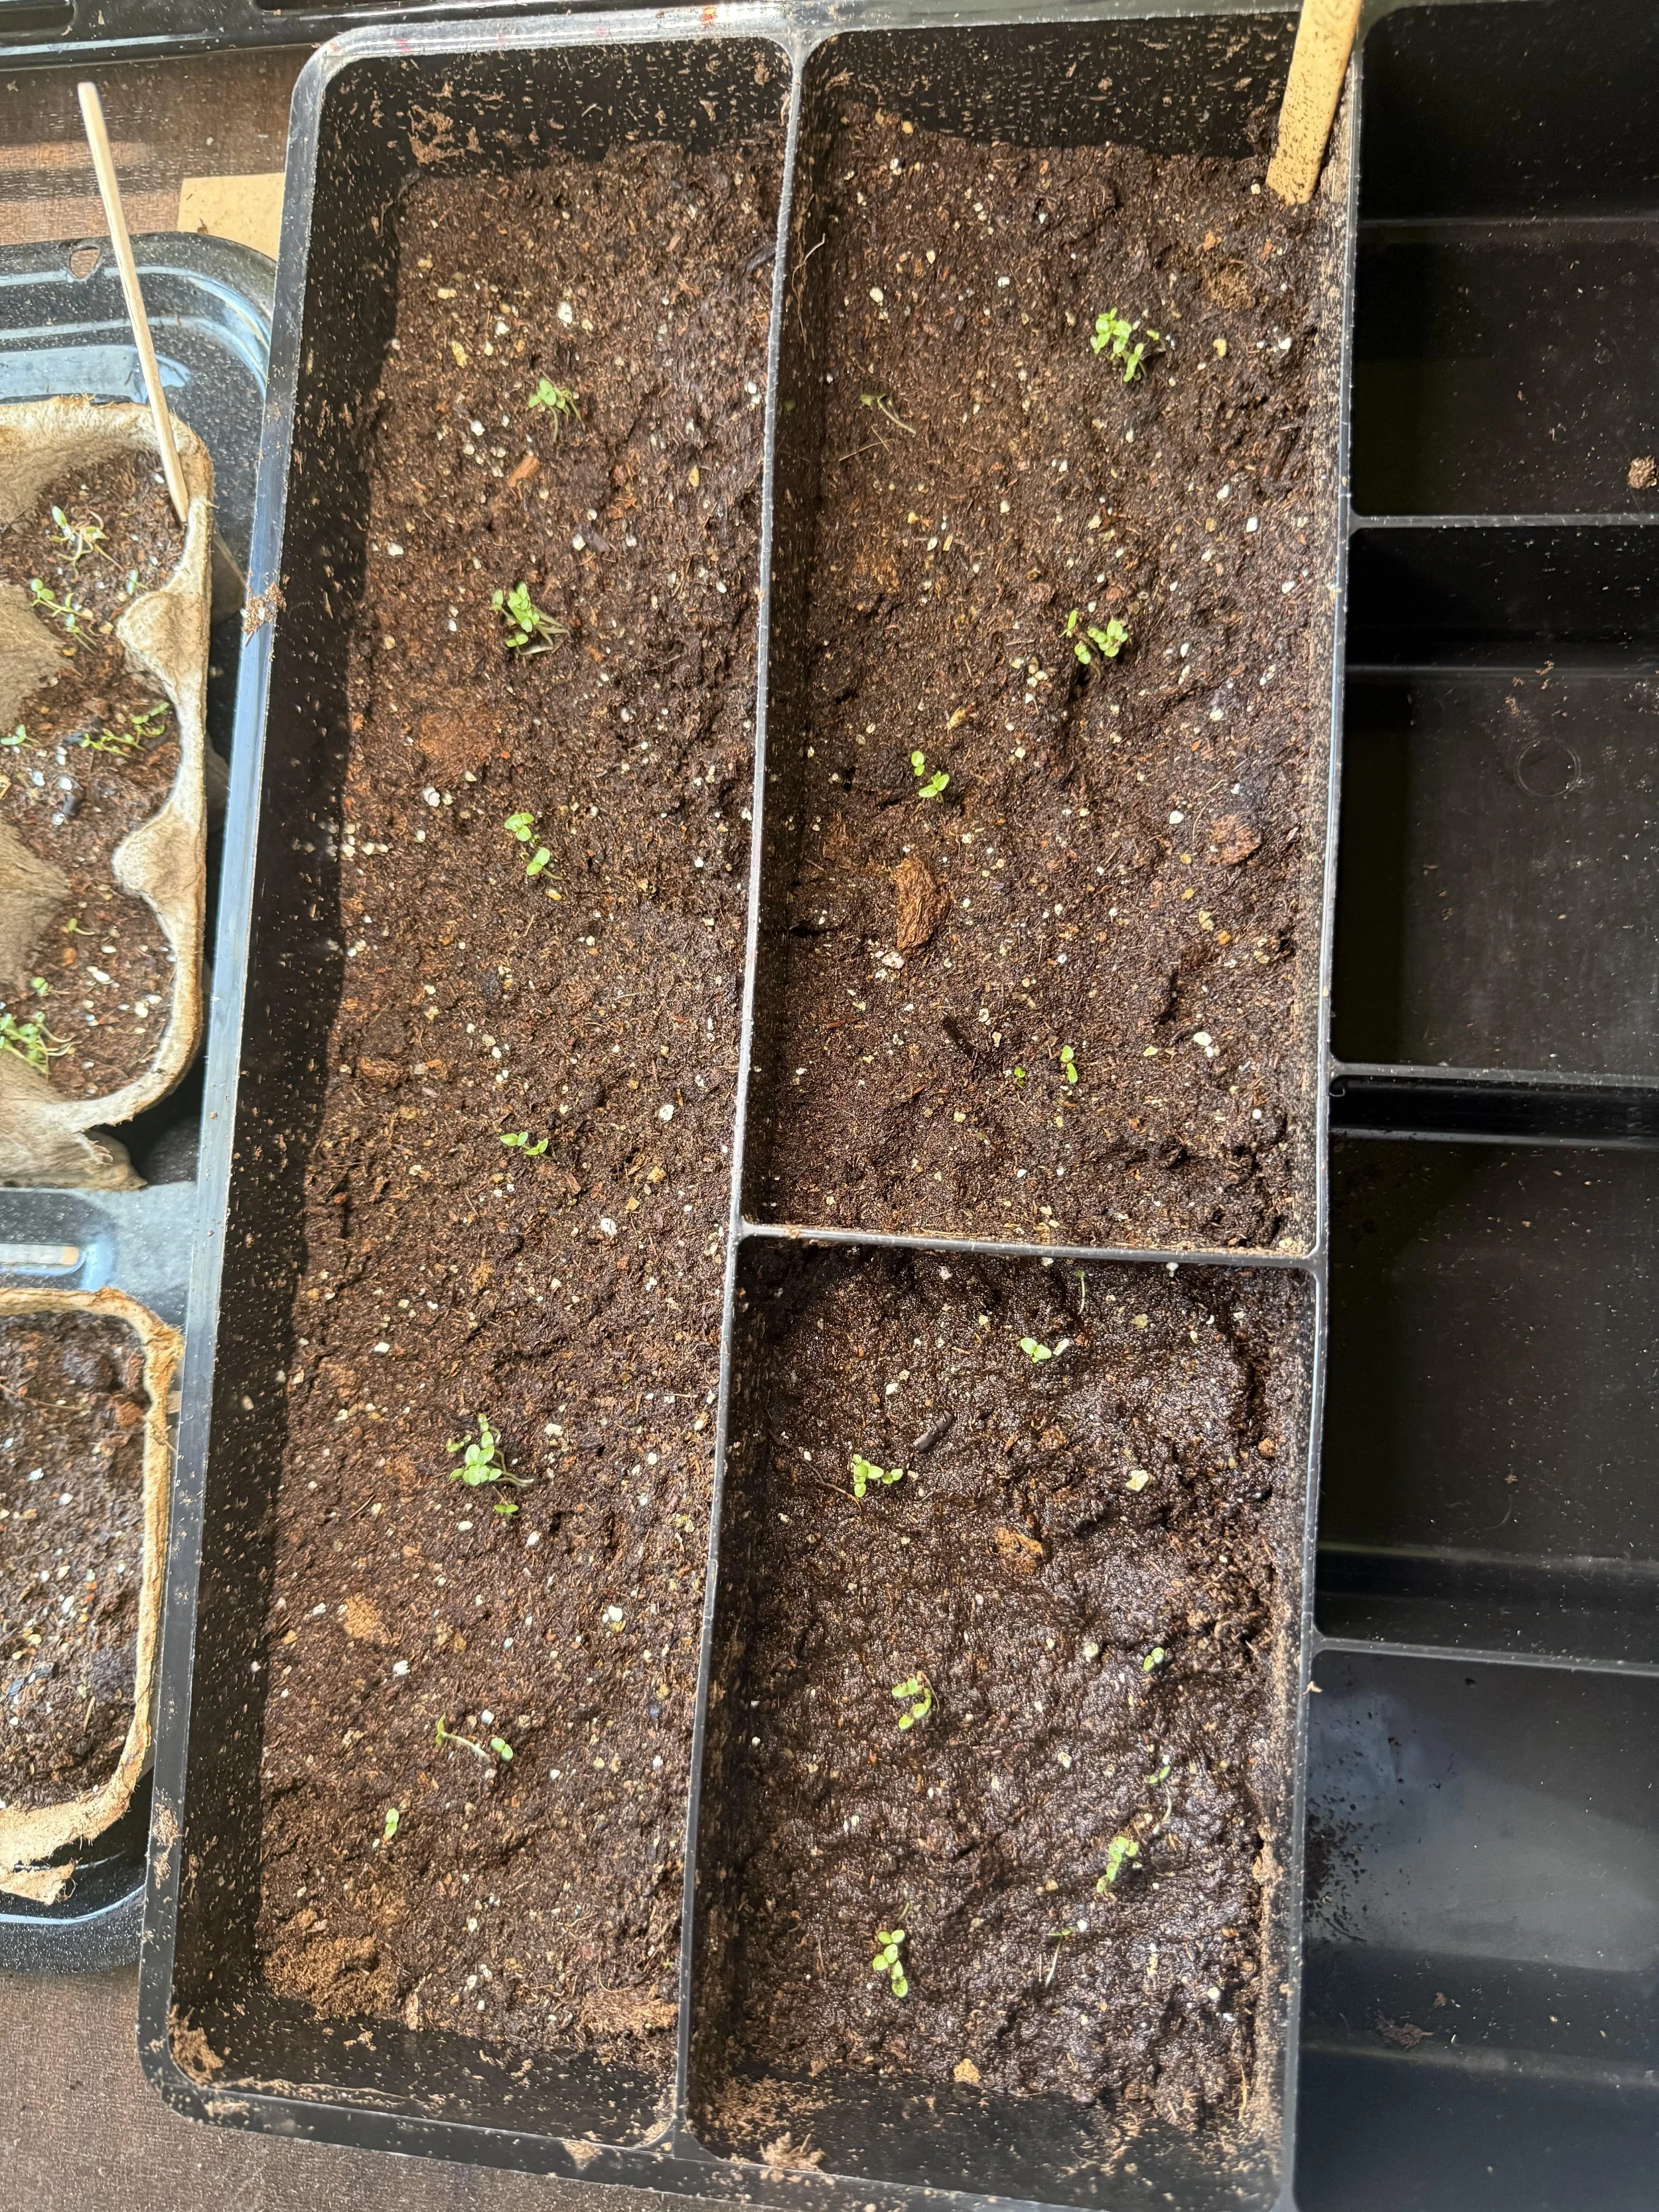
One of my desk-organizers-turned-seed-planter. I love using whatever I have to start the seed growing process.
Choose Anchor Perennials
I selected perennials that are indigenous to my region, hardy, deer resistant and would grow well next to the other trees and plants we already have on our property. For example, I researched which perennials would thrive beside hydrangea and boxwood or under a red maple. I also looked on Pinterest to find photos of combination plantings with the specific perennials I had in mind.
From a design perspective, I needed a few structural plants that would provide height in strategic areas, or grow low in others. I also knew I wanted vibrant color to complement the exterior colors of the house. For these reasons I sourced seeds for creeping thyme, creeping phlox, petunia, aster, celosia, penstemon and sunflowers.
Sourcing the Seeds
I ordered most of my seeds from Amazon or Eden Brothers. I’ll link them below. It’s been only a couple of weeks and I’ve had success germinating almost all of those seeds, with the exception of the celosia. That set of seeds came in a small rigid plastic tube and they appeared to be more of a soft, almost mushy seed consistency. So I’m wondering if I somehow mishandled them while planting? We’ll see. The rest are starting to sprout even in my makeshift greenhouse setup!
Seed sources:
Petunia | Petunia Wild Variety | Sunflower | Sunflower - Mammoth Grey Stripe | Creeping Thyme | Penstemon | Celosia
Seed Starting in My Makeshift Greenhouse
We have a small room in our carriage house that gets natural light through a large window, happens to also have a radiator under that window, and has been in a state of temporary construction for almost a year. When it came time to find space for my seed flats I put a sheet of plastic down on an old library desk, layered baking sheets with brown cardboard and set the egg cartons and other flats on top. I researched a grow light that would be effective and inexpensive, linked here from Amazon, and it clamps easily right onto the front of the desk. It plugs in to a nearby outlet and those seedlings have really got it made! Warmth, natural light, grow light to supplement, and they’re tucked away in this small room where no one bothers them.
Since we’re still seeing temperatures drop to the 40s at night I haven’t transferred any of those seedlings outside yet. Instead, I’m buying some time for them in the makeshift greenhouse by transplanting into larger cartons and jugs. Nothing fancy at all, I’ve cut milk jugs in half, used whatever recyclables make sense and are available, and my plan is to get these babies into the ground in the next couple of weeks once our low temperatures stay in the high 50s to low 60s.
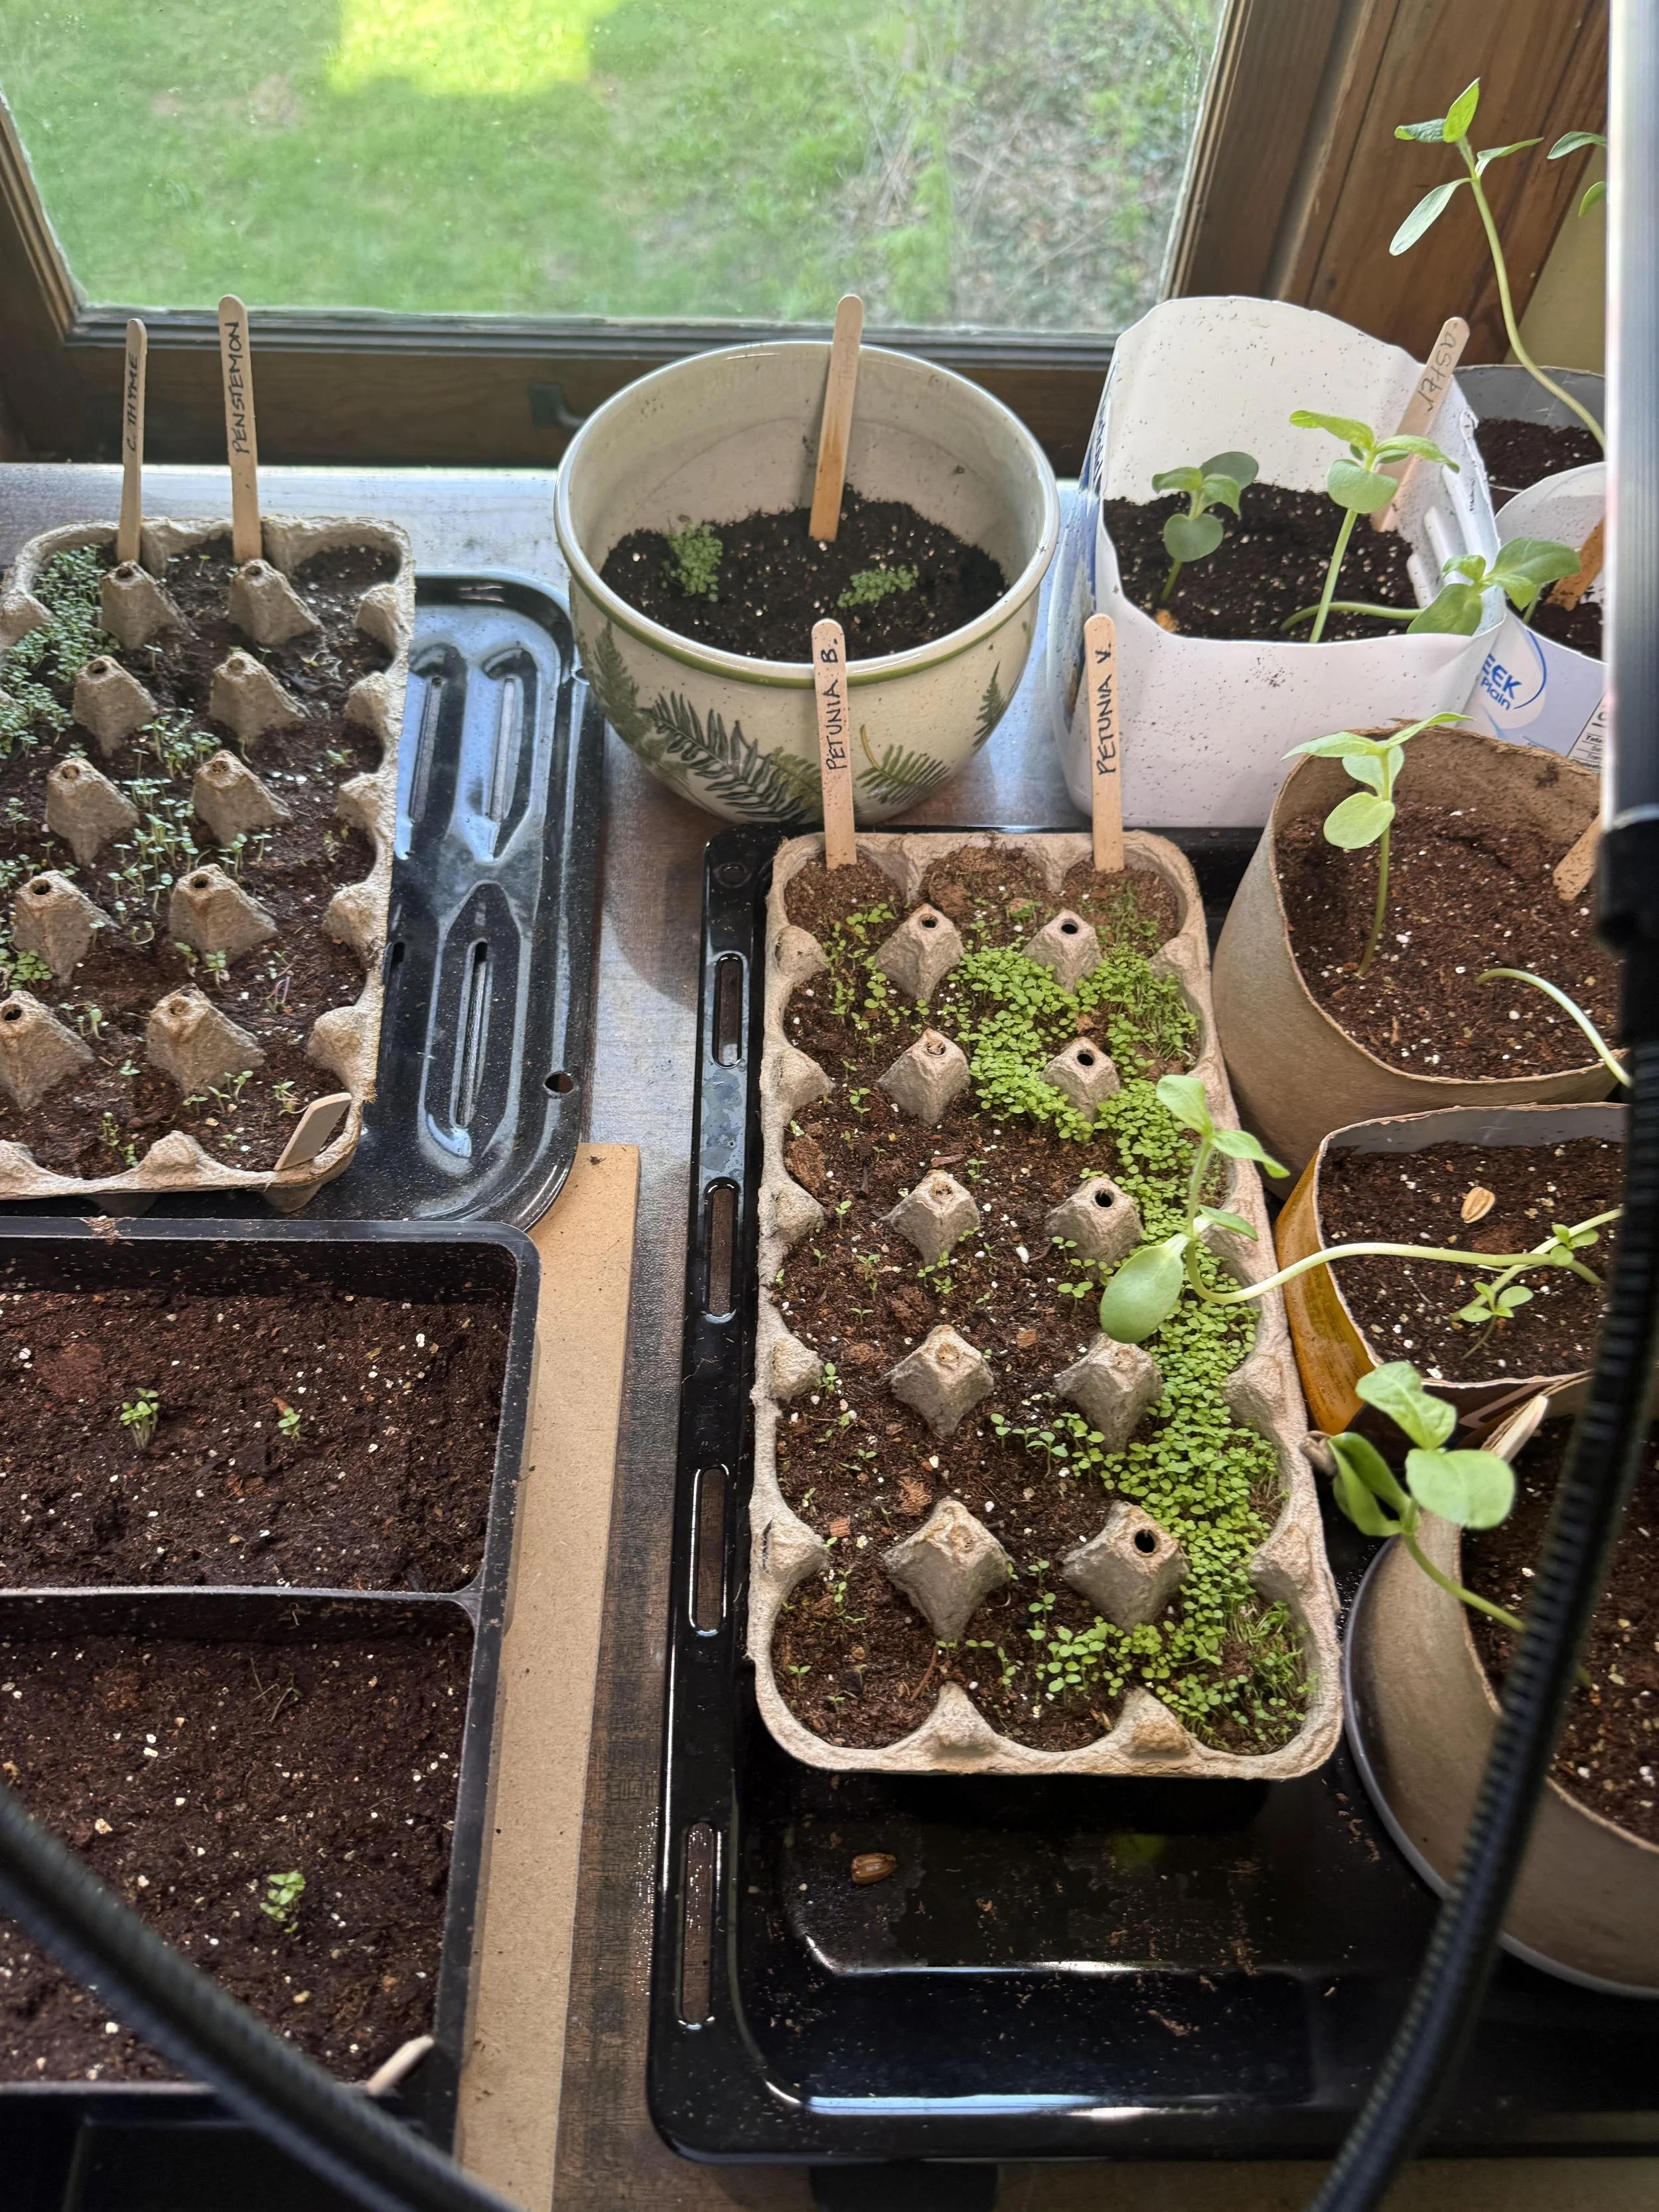
Check out those little petunias sprouting like champs in their desk-organizer-seed planter.
More Planting and Design in Part 2
If you’re interested in seeing more of my inspiration photos, check out my Pinterest board here. In Part 2 I’ll share progress pictures as well as my garden design layout, bed prep and planting. Stay tuned!